 My supervisor at work moved here from Sicily when she was about 14 years old. Recently at work she handed me a cookbook called Treasures of Sicilian Cuisine and told me that this cookbook is authentic Sicilian. So I examined it from cover to cover and photocopied two recipes. This is one of them! But I have to say, I hesitated. Why? I saw the A-word in the recipe. That's right, Anchovies. As I made my gross-out face, I told Maria that I was thinking of making it, but leaving them out. She somehow convinced me to leave those little critters in the recipe, telling me that the anchovies are meant to be a power booster. She went on, promising me that they shouldn't add a fishy taste and that we Americans don't tend to use them the right way. When we use them, we slop them onto pizza, or simply use way too much of them.I wasn't quite sure that I believed her, but I found myself purchasing this little can on my way home and wondering what the hell I was doing!
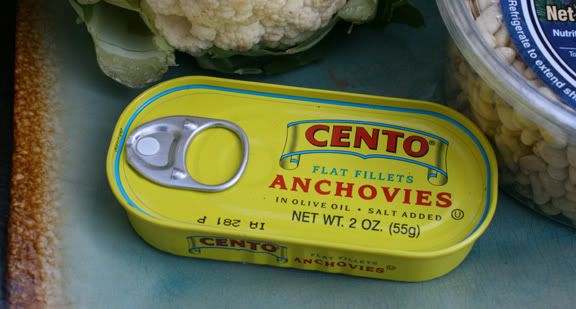
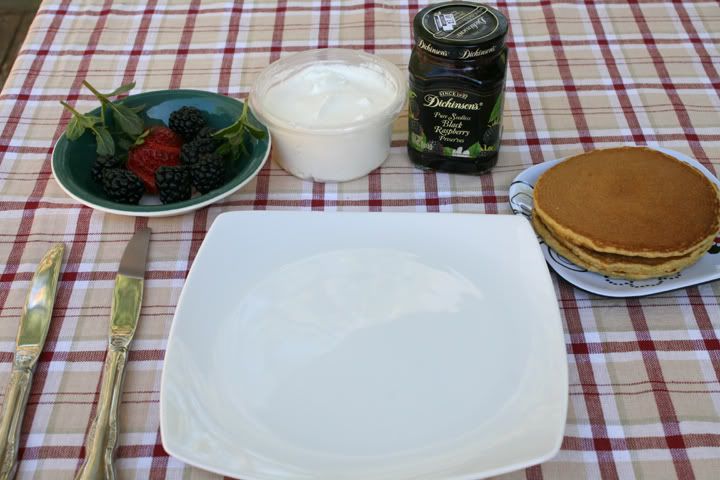
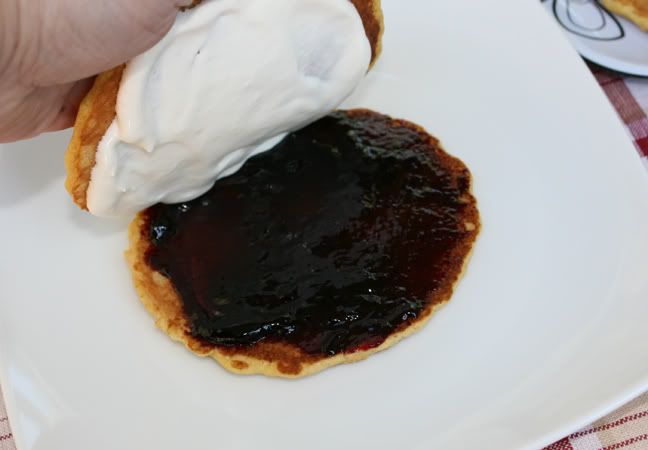
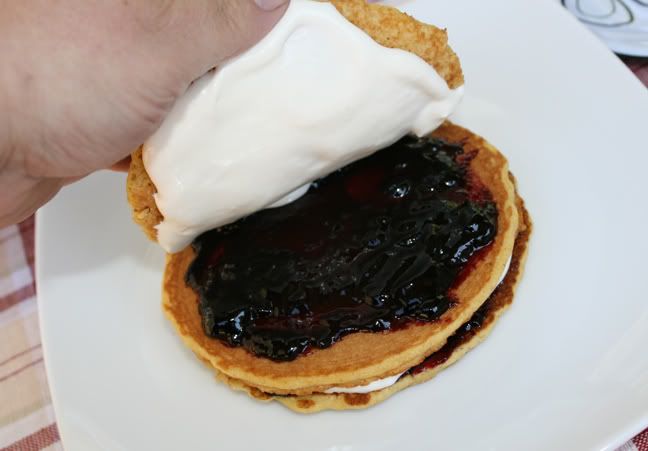
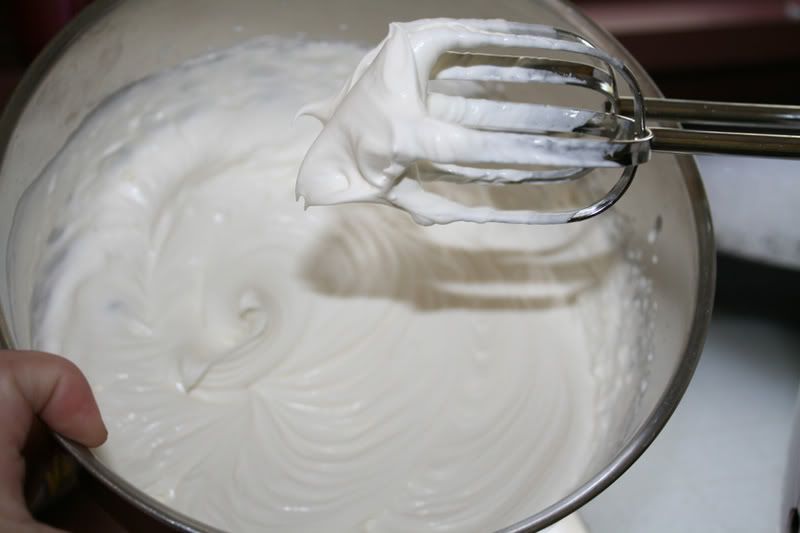
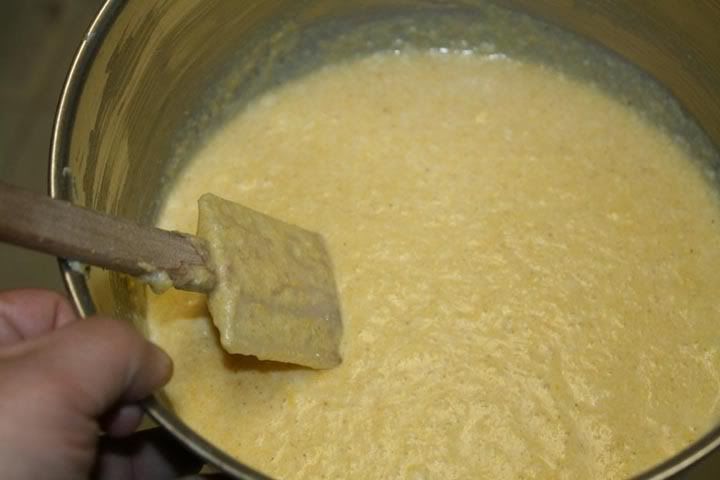
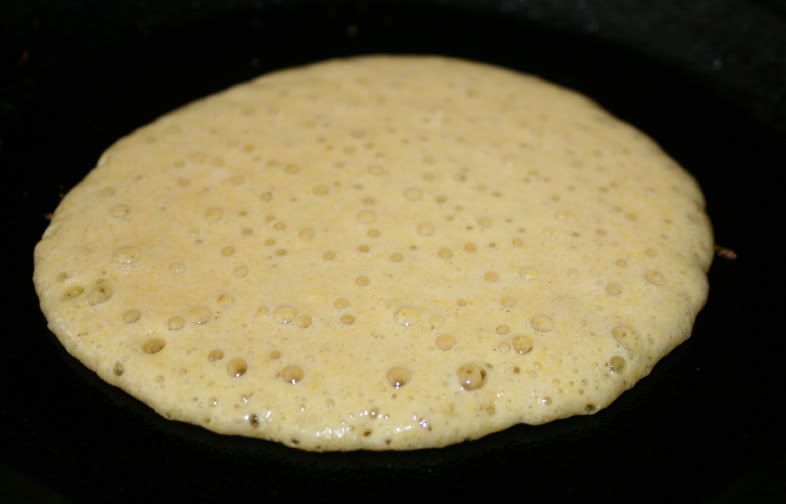
Knowing that Joe would never eat this pasta dish, I invited some friends over for dinner so I'd have someone to share it with. Karen told me that she and Todd love anchovies and were very into trying this dish, along with the stack of Corncakes with Fruit and Mascarpone Cream that I promised for dessert.
When Karen and Todd arrived, I was ready to assemble the dish. The cauliflower had been parboiled and all the ingredients were prepped and ready to go into a hot pan. That is, all except those anchovies. I hesitated for a few moments. Especially when I opened the can and took a look at them, with all their little bones all over the place.
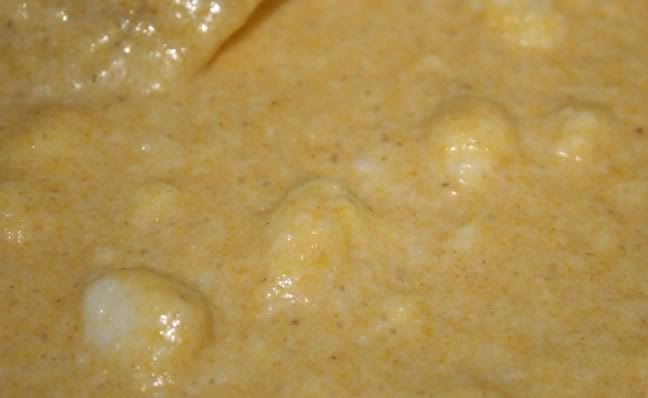
The recipe actually states that the anchovies "dissolve in the oil." That was the only reason that I mustered-up my courage and said to myself - I'm going to do this the right way. So I chopped them up super-fine and readied myself for throwing them into the pan. And what do you know, they really did dissolve.
And even better than the fact that the anchovies dissolved was the fact that I really didn't taste fish. What do you know, Maria didn't lie to me!
I use the word adapted under the title of the recipe because I had to make a few small changes. The recipe called for a small bag of saffron. I'm assuming that they are referring to saffron powder. I used the real thing, so I looked up how much saffron typically goes with a pound of pasta and came up with the one scant teaspoon (that's not quite a teaspoon) that I steeped in the hot liquid from the parboil of the cauliflower before adding it into the sauteed onions.
I also added quite bit extra in the pine nut department.
I'm glad I tried this recipe. It was new and different, and I liked it. Karen and Todd liked it too. Joe made a separate meal for himself and enjoyed the company while I got to experiment and share with other people who would enjoy such a dish. All of us were happy little eaters.
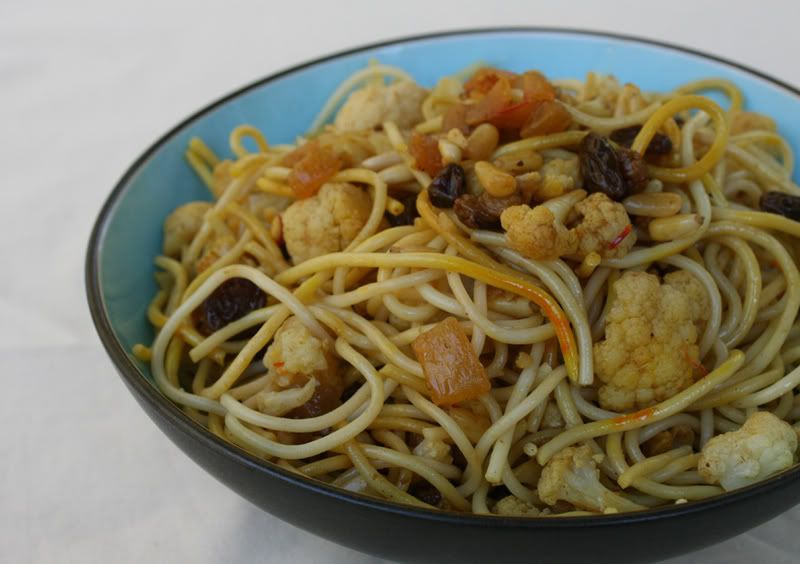
Sicilian Pasta with Cauliflower
Adapted from Treasures of Sicilian Cuisine
1 pound spaghetti
1 medium cauliflower
1 large, sweet onion, chopped
2 ounces large golden raisins
2.5 ounces pine nuts
1 scant teaspoon saffron threads
2 ounces anchovy fillets in oil
5 tablespoons extra virgin olive oil
salt and pepper to taste
Cut off the florets of cauliflower and add them to a pot of salted water. Once the water reaches a boil, continue to boil the cauliflower for five minutes.
Drain and put aside the cooking water. Use a small amount of it (2 tablespoons) to steep the saffron threads, covering the little steeping dish with plastic wrap.
Use the rest of the cauliflower water, plus any extra water that you need to cook the pasta to "al dente."
In a large pan, saute and caramelize the minced onion with plenty of oil. After all, olive oil is good for you! Be sure to season the onions with salt and pepper to your liking.
Add the chopped anchovies and dissolve it in the oil.
Add the raisins, the pine nuts, and the cauliflower and brown the mixture on a medium-high flame, stirring often.
Add the steeped saffron.
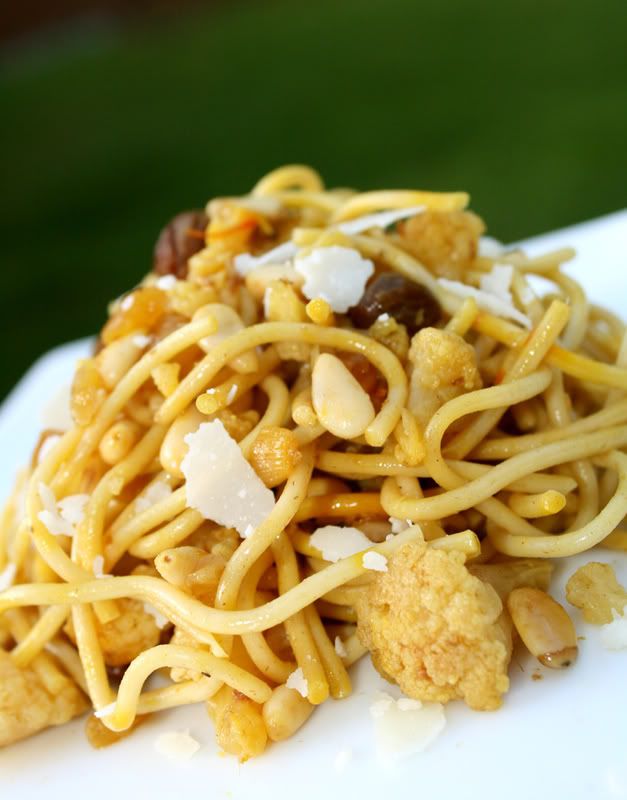
Finally, add the pasta to the pan. Toss and serve with Parmesan cheese.


