When I was a kid, growing up in New Jersey, my family would spend every Thanksgiving with some family friends from Long Island. I guess that both families were rather far from blood relatives.
And even though "Aunt Irma" had six young boys, she could still cook! In fact, if I remember correctly, she was a terrific cook! Thankfully, at some point she shared her recipe for this most-awesome cranberry nut bread with my mom, who shared it with me.
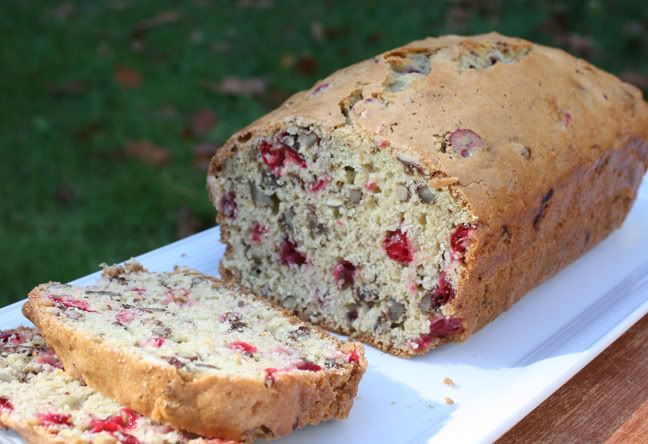
As an adult, I make this bread every year. I bring it to our family Thanksgiving celebrations and will be sharing it with my coworkers for our pot luck tomorrow. I just know it will be loved and I will be admired, just as I admired Irma every time she cooked for us!
This recipe makes one large loaf, but just to make sure I have enough for myself, I set a smidgen aside and made this sweet little mini loaf just for me!
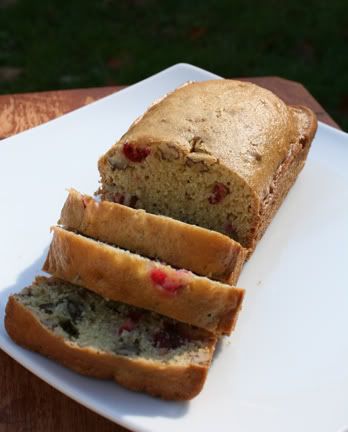
Eat what you want people! I still have my own personal stash.
I have a note on the recipe that Irma used to quadruple it and bake it in three larger loaf pans. After all, she had a big family to feed!
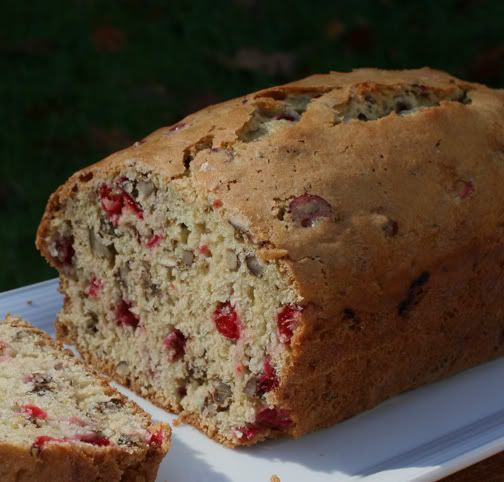
Irma's Cranberry Nut Bread
2 cups sifted all purpose flour
1 cup sugar
1 1/2 teaspoons baking powder
1/2 teaspoon baking soda
1/2 teaspoon salt
1 egg, lightly beaten
juice & grated peel of 1 orange
2 tablespoons butter
boiling water
1 cup chopped, fresh cranberries
1 cup chopped nuts (pecan or walnut)
Preheat the oven to 350 degrees.
Sift together the flour, sugar, baking powder, baking soda, and salt. Blend in the egg.
Combine the orange juice, peel, butter, and enough boiling water to measure 3/4 cup. Mix it into the flour mixture.
Add the nuts and cranberries and mix by hand until well-blended.
Turn the batter into a well-buttered 8 1/2 inch loaf pan and bake for 1 hour, or until a tester comes out clean. The top of the loaf will crack while baking.
Cool on a wire rack. Wrap in foil and refrigerate overnight before slicing.
FYI: This bread is delicious toasted!
FYI(2): you can quadruple the recipe and bake it in 3 larger loaf pans.