
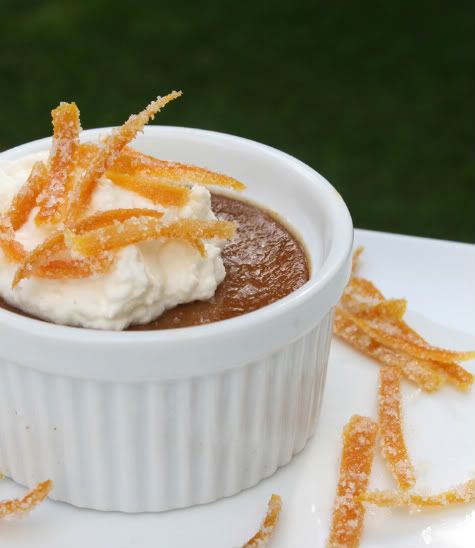
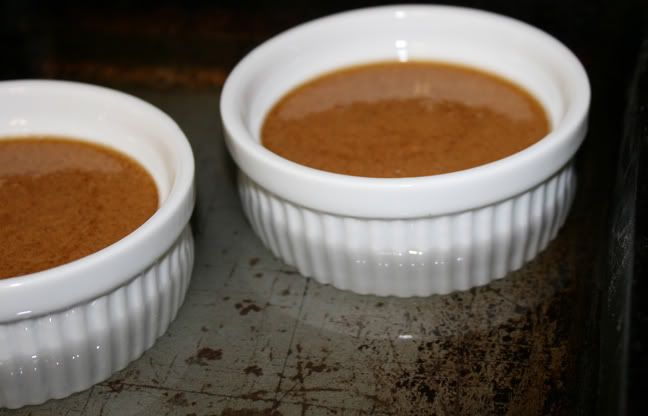
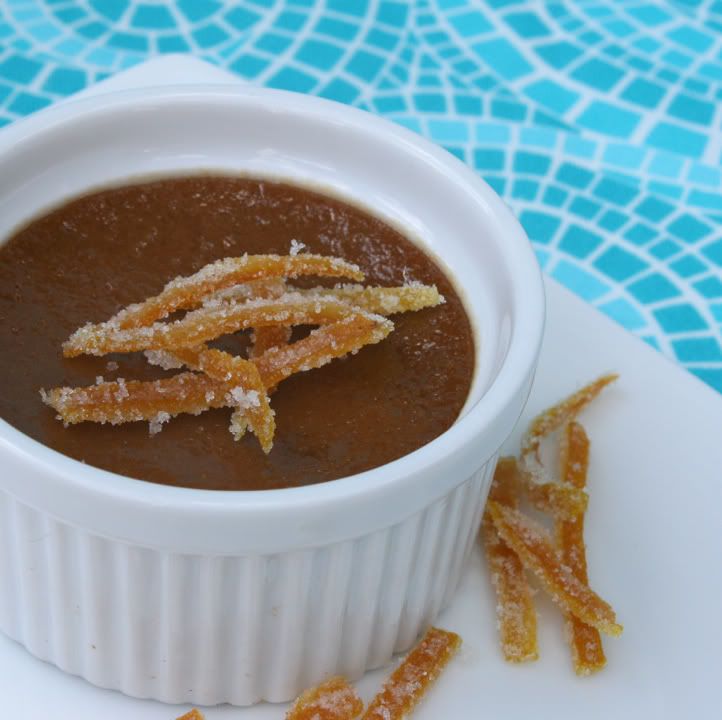
 Here's another reason that I bought the most recent cookbook, The Perfect Recipe for Losing Weight and Eating Great, from Pamela Anderson. The original recipe (before I adapted it) appeared in Food & Wine Magazine. I also made another of her featured recipes in that issue, the Brown Sugar Custards.
When I think of this dish, I think of an an episode of the Brady Bunch when Peter was talking to Alice about dinner and he imitated her in a Humphrey Bogart voice saying "Pork chops and apple sauce." Do you remember that episode? Well, Alice had the flavor combination down! Pork and apples go very well together.
I was very pleased with the dish. The flavors were spectacular! I will absolutely make it again and perhaps serve it to friends. I intensified the flavors of the sauce, adding extra apple and then straining it at the end and leaving the wonderful fruity flavors in the sauce that went over the tender, perfectly seasoned and cooked pork tenderloin. I placed the tenderloin on top of a bed of seasoned Swiss chard with red pepper flakes and onion. All of that lay on top of a bed of wild rice that I boiled in part water, part apple juice, ever more adding apple to the dish. It was good stuff!
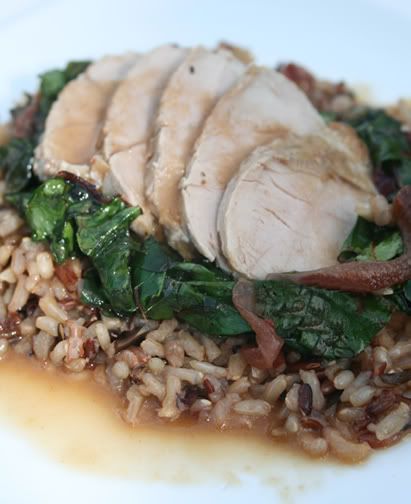
Pork Roasted Tenderloin with Appled Sauce, Appled Wild Rice, and Greens
Adapted from Food & Wine's printing of a Pam Anderson recipe
For the pork:
One 1 1/4 pound pork tenderloin
2 teaspoons vegetable oil
salt and pepper to taste
1/2 cup naturally sweetened apple juice or apple cider
1/2 cup apple sauce - no sugar added
1/2 cup low-sodium chicken broth
1 tablespoon low-sodium soy sauce
1 single-serving package of golden raisins
1/2 teaspoon ground ginger
Preheat your oven to 350 degrees. Also, heat up a non-stick pan over medium-high heat. Coat the pork tenderloin in oil and season with salt and pepper. Brown it on all sides in the pan. Then place it in the oven for approximately 18 minutes, turning once. The pork will be done when an instant-read thermometer registers 140 degrees when poked into the center of the thickest part of the tenderloin. Place the pork on a cutting board and let it rest.
Add the juice/cider, broth, apple sauce, soy sauce, raisins and ginger to the pan. Cook it down until the liquid is reduced by half. Pour the mixture through a strainer and into a bowl or gravy boat.
For the greens:
one bunch Swiss chard
1/2 cup thinly sliced onion
1/4 teaspoon salt
1/2 teaspoon red pepper flakes
1 tablespoon extra virgin olive oil
Heat the pan on medium-high. Add the olive oil. Saute the onions. Then, begin to add the Swiss chard. There will probably be too much of it to add all at once, so add maybe half. It will wilt and shrink quickly as you toss it around with a pair of tongs. Then add more, or the rest of the chard, salt and red pepper flakes. Continue to toss with a pair of tongs until the chard is wilted. Remove from the pan and set aside.
For the rice:
I used the Lundberg Wild Blend of rice, replacing half of the liquid on the package directions with apple juice. Once it was cooked, I tossed in small amount of toasted pecans.
To Plate:
Begin with the rice. Top with a layer of the greens. Slice the pork tenderloin in thin medallions. Place on top of the greens. Pour the sauce over it. Enjoy!


