Friday, May 2, 2008

Manchego and Tomato Salad


I've enjoyed watching a few episodes of Made in Spain, but I really didn't expect to make anything. I guess I'm a little intimidated by authentic Spanish cooking. It's not like it's difficult, but the ingredients are usually strange to me. But there I was, watching the episode on La Mancha, and there was my Manchego cheese in the fridge (straight from La Mancha), and my extra-ripe tomato on the counter. The time was right to experiment.

This little tapas dish is wonderful in every way. It's ingredients are simple, it's easy to prepare, and so full of flavor.

Chef José said that you could eat this right away, but it would be even better the next day. I think he was right about that.

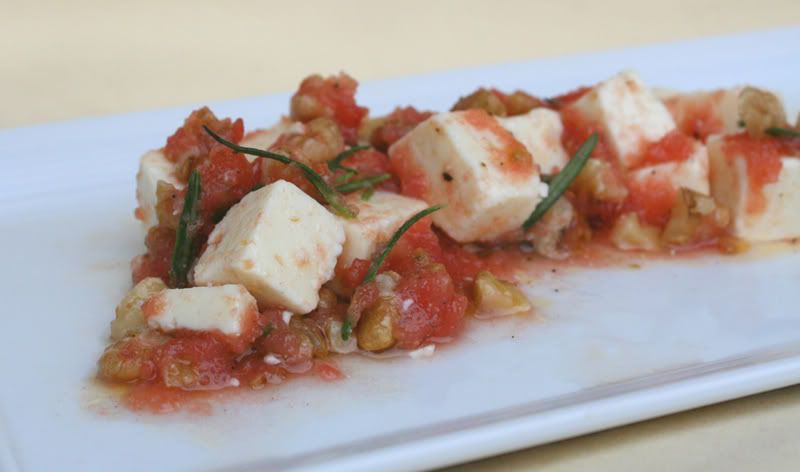
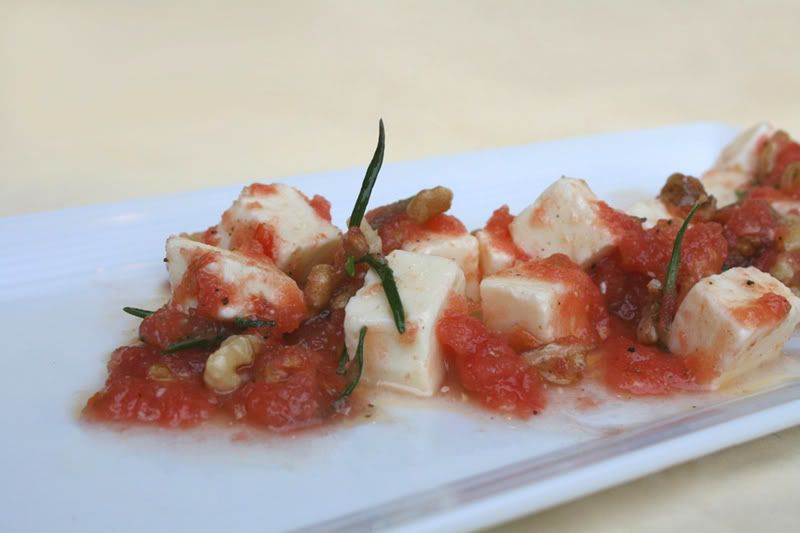
Salad of Manchego, Tomato, Walnuts, and Rosemary
Adapted from José: Made in Spain

1 vine-ripened tomato
1 tablespoon extra virgin olive oil
pinch of kosher salt
5 twists of fresh ground black pepper - on the coarse setting
5 oz Spanish Manchego cheese
1/4 cup walnut chunks, lightly toasted and then broken into pieces
fresh rosemary

Cut the tomato in half and grate it. That's right, grate it into a bowl. All of the pulp will come off of the skin and fall into the bowl with the seeds. That's what you want. Call it a fresh tomato puree (that's what José called it).
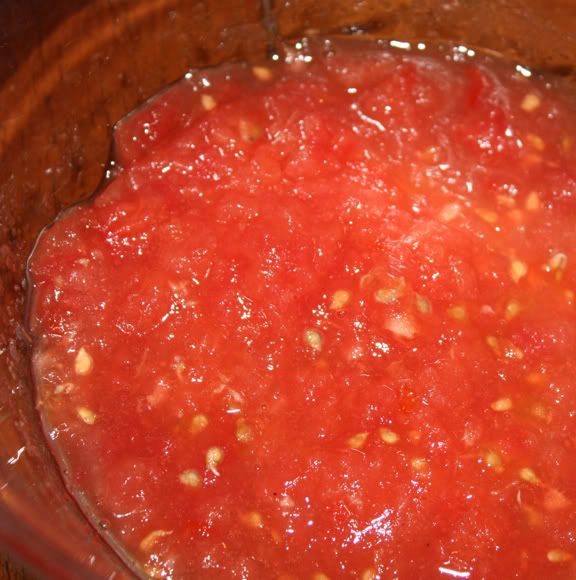


Add the the olive oil and season with salt and pepper.

Here's what the cheese looks like with it's characteristic rind with the zigzag lines.
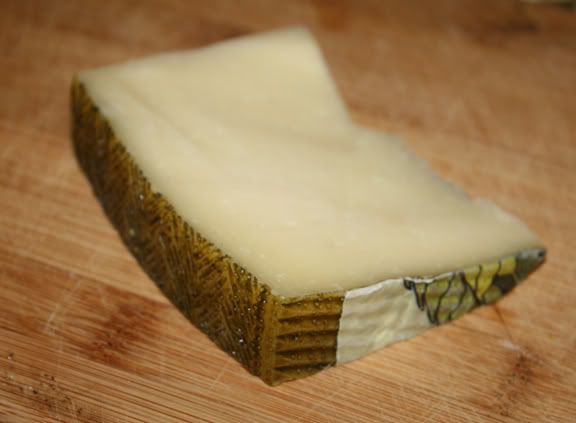

Cut off the rind of the Manchego cheese and cut it into cubes. I did the approximate size of sugar cubes (if you can remember them). Add them to the tomato puree.

Add the walnuts. If you want more of fewer walnuts, go ahead and change the amount. I liked the 1/4 cup.

Take some rosemary leaves off of the plant stem. fold them over and rub them around between your fingers so that the oils in the leaves are released to the surface. Add it to the rest of the ingredients.

Toss all the ingredients in the bowl. Serve either immediately, or after being refrigerated for up to one day or so.

Tuesday, April 29, 2008

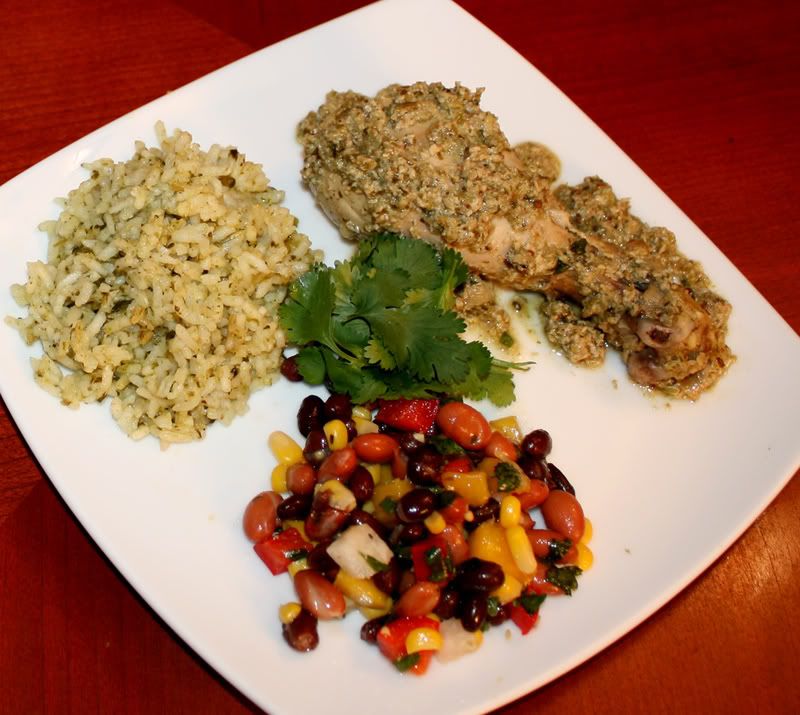
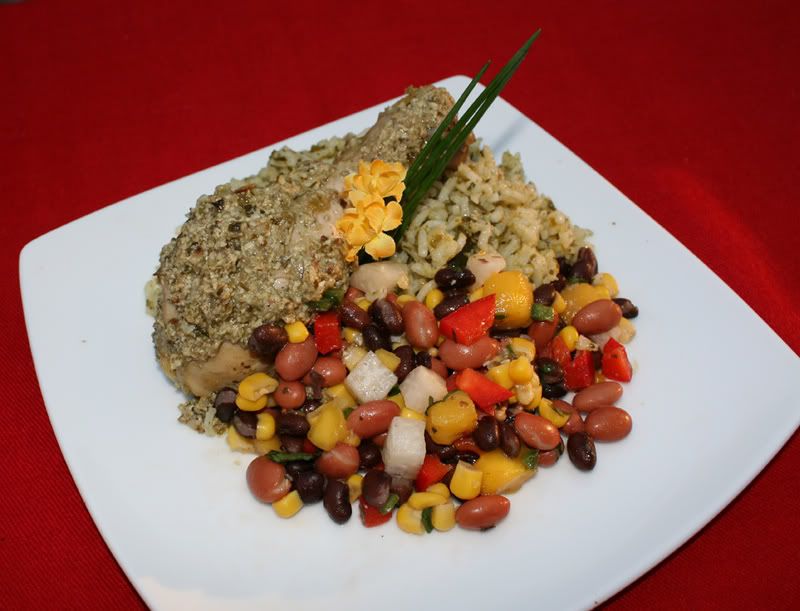
Mexican Cinco de Mayo Green Dinner


All of the Earth Day celebrations last past week must have had me thinking green when it came to making a Cinco de Mayo dinner. Cinco de Mayo is May 5, of course. Did you think it was the Mexican Independence Day? Many people do, but it is not!

Let me first educate you all about Cinco de Mayo in a very brief history lesson:


Did you know that for a time, Mexico was ruled by a Hapsburg prince?


In 1862 Emperor Maximillian and his wife, Carlota, were sent to rule Mexico by Napoleon III. Why, you ask? After Mexico declared its independence from Spain in September of 1810, it borrowed money from France. But when France wanted the money back, Mexico was unable to pay off the debt. So France sent troops to collect or take over.

The French had the best army in the world and it was well-equipped. When they arrived at Puebla (the capital of the state of Puebla), there was a battle in which the poor Mexican farmers made sport of the French.

Sadly, in the end, the French won the war and took over Mexico for some years. But the battle of Puebla on May 5 1862, is remembered as a day of great Mexican pride. It is celebrated not only in Puebla, but through out Mexico, and the places where populations of Mexicans live in the US.

So let's celebrate the earth and Mexican heritage with a green Mexican dinner!


It all started out when I was at the grocery store a few days ago and found myself in the produce section where the green Mexican ingredients were begging me to buy them! I bought large tomatillos, beautiful poblano chiles (peppers), and cilantro. With ingredients in hand, I headed home to find some recipes.

Being a Spanish teacher who studied in Mexico, I have a number of good Mexican Cookbooks. I turned to
The Complete Book of Mexican Cooking by Elisabeth Lambert Ortiz. I am a huge fan of this book, which was published way back when I was just one year old. The recipes seem very traditional to me, and not too gourmet. They promote authentic Mexican Cuisine.

The book magically opened to Arroz Verde on page 64. Well, maybe it opened to page 64 because it is the page that I most often visit.

I looked at her recipe for Pipián Verde, but I had fresh tomatillos, and her recipes called for canned. I was most interested in making a Pipián Verde (a green chicken fricassee) and I really wasn’t sure of the conversion rate, so I turned to the Internet for a recipe.

I did an advanced search on Epicurious.com for the tomatillos with the main ingredient of chicken. A recipe for Chicken in Green Pumpkin-Seed Sauce came up.
I made the chicken almost immediately and put in in the fridge, deciding to make the sauce the next day. Before going to bed later that evening, I shut down my computer.

Remembering that what I saw was a recipe for Pipián Verde, when I went to Epicurious the next day, I changed my search words to pipian verde. I clicked on the link that appeared, the only recipe they had with those words in the title.

It only took a moment to realize that this recipe was different, but it looked much better than the other one. Therefore, I would use the chicken I made with the first recipe, and the sauce of this new recipe.

The result was an absolutely delicious meal that I felt I had to share. So I made a second batch of it. Then on Monday, I shared this wonderful green meal with my hard-working Spanish 3 students (there are only 13 of them) who have probably never tried food like this in their lives.

One can't expect that a bunch of teenagers are going to fall in love with traditional Mexican cooking, but I think they appreciated it, and I'm sure that a number of them really enjoyed it. They approached the new flavors and ingredients with an open mind and that warmed my heart.


Monday, April 28, 2008

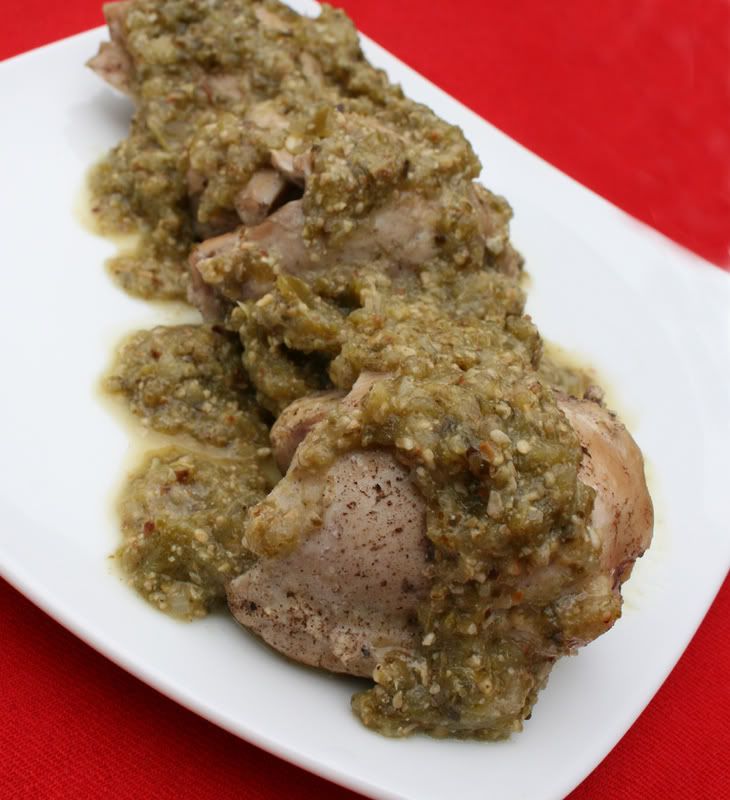
Pollo en Pipián Verde


Okay, I'll be the first to admit that this is not the most attractive chicken dish, but let me be the first to tell you that this stuff is awesome! It has deep flavors that present themselves in layers. And it finishes with just a little bit of heat. If I were a judge on the Iron Chef, I'd say it was like a little orchestra in my mouth! But in my own language, I'll say that it has so much flavor, and it is pure goodness on your taste buds. In fact, when I tasted it, I liked it so much that I made another batch so I could share it.

I don't make real, traditional Mexican food very often. It tends to be a bit on the labor-intensive side. But, this dish really wasn't so bad. Heck, it was almost a breeze the 2nd time I made it! Honest! And there's no reason that you can't make this over the span of two days. You can make the chicken one day, and the sauce the next day.

And if you are preparing this as your first Mexican dish, you could even do the 3-day thing.
  • Day 1: Roast and peel the poblano peppers, toast the pumpkin seeds and put them through a food processor, make the chicken.

  • Day 2: Make the tomatillo sauce (pictured in the mustard-colored bowl

  • Day 3: finish the sauce and reheat the chicken in it.
The first batch I made used the two-day approach.

But the 2nd time I made it, I sprinted through the steps and did the whole thing at once. That was cool. Being a multi-tasker (I have a serious case of ADD), I did several steps at the same time and totally messed up my kitchen. It was an intense, fun experience.


Pollo En Pipián Verde
Adapted from both Gourmet Magazine and Bon Appetit


For the chicken:

5 cups water
6 chicken thighs with skin and bones
1/4 large white onion
3 garlic cloves, halved
3 large fresh cilantro sprigs
1 teaspoon fine sea salt
1/4 teaspoon allspice
1 whole clove
freshly ground pepper

Put all the ingredients in a medium saucepan and bring to a boil on a moderate flame. Once it reaches the boiling point, turn down the heat to medium-low and simmer for 30 minutes. When it is done, remove the chicken pieces with some tongs and strain the stock. Throw away the strained matter. If you have time, refrigerate the chicken stock and spoon off the fat from the surface later.


For The Sauce:

1 1/2 cups raw green pumpkin seeds (about 7 ounces)
2 tablespoons sesame seeds
1/2 teaspoon cumin seeds
4 allspice berries (I used ¼ teaspoon powder instead)
3 cloves
6 black peppercorns
1 pound fresh tomatillos (or a 28-ounce can tomatillos, if you must)
6 fresh serrano chilies
1/2 large white onion
4 garlic cloves
1/2 cup packed coarsely chopped fresh coriander
2 teaspoons salt
1/4 cup lard or vegetable oil (I used oil)
3 cups stock from cooking chicken
1 to 1 1/2 fresh poblano chile

Roast the poblano chile. Let it cool while you toast the pumpkin seeds.

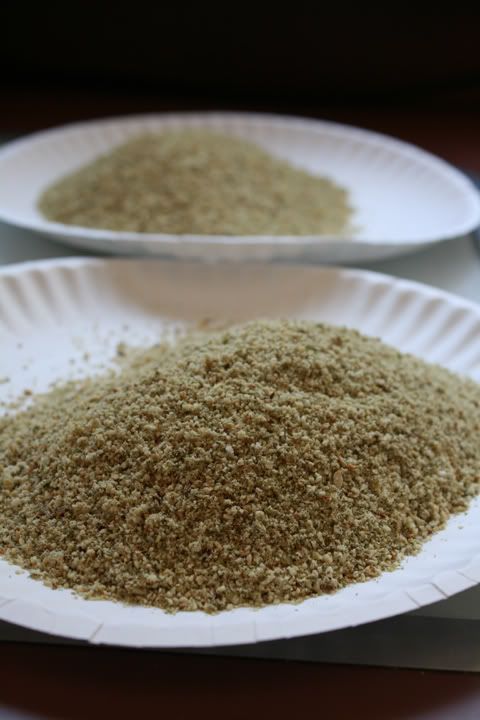
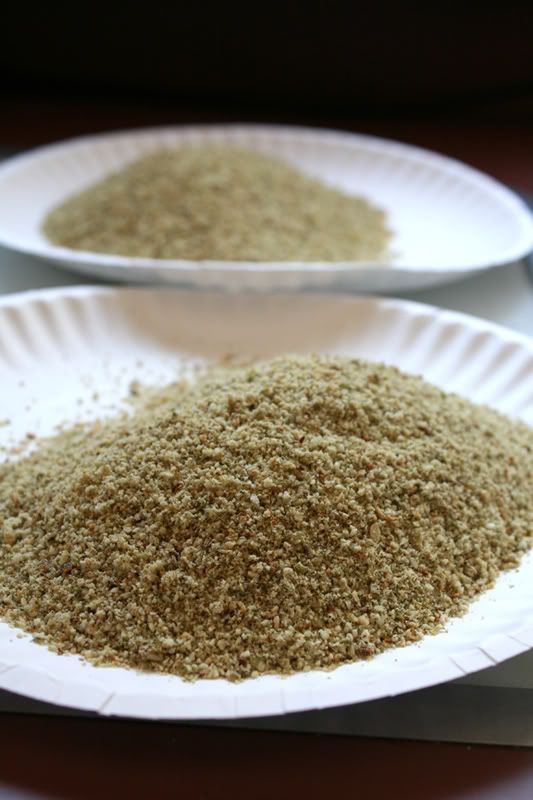
Heat a large heavy skillet over moderate heat until hot and toast pumpkin seeds, stirring constantly, until they have expanded and begin to pop, 3 to 5 minutes. Transfer seeds to a plate to cool. In skillet heat sesame and cumin seeds, allspice, cloves, and peppercorns, stirring, until fragrant, about 1 minute, and transfer to plate. When seeds and spices are cool, in an electric spice/coffee grinder grind mixture in batches to a powder (I did 2 batches).


If the chile is cool enough after having roasted, you could peel it now and discard the seeds and stem.

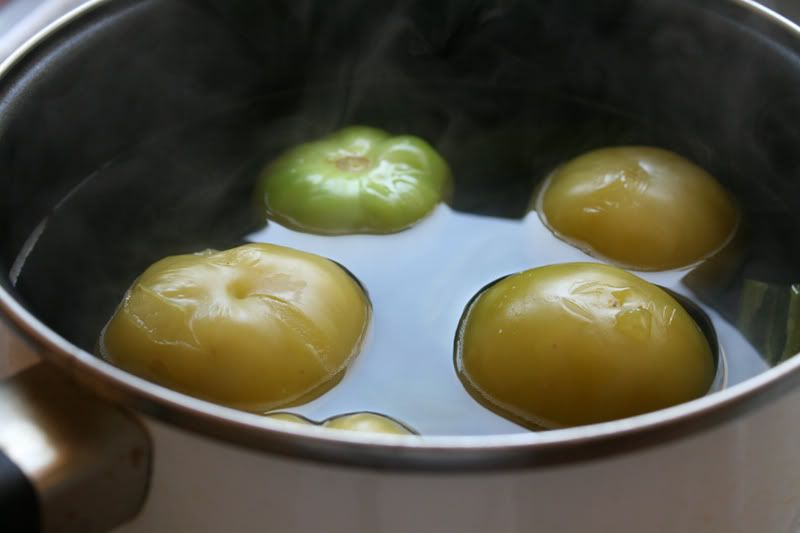
If using fresh tomatillos, discard husks and rinse with warm water to remove stickiness. Stem serrano chilies. In a saucepan simmer fresh tomatillos and serranos in salted water to cover 10 minutes. If you look closely at the picture below, I flipped some of the tomatillos over. The part that was submerged got less green.


If using canned tomatillos, drain them and leave serranos uncooked.

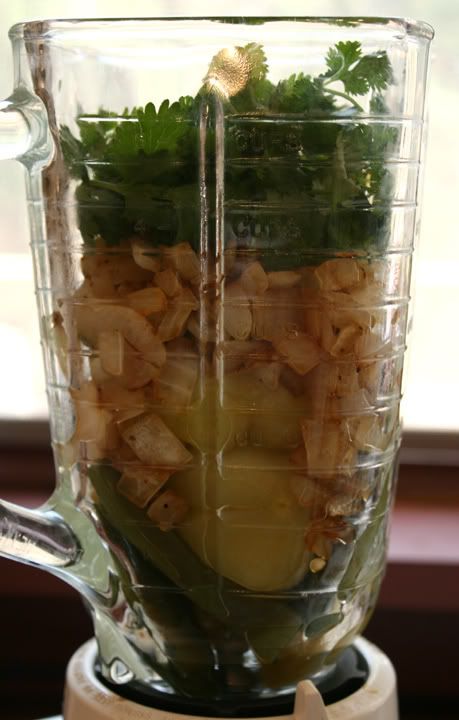
I went the extra mile at this point and sauteed my onions. I didn't have to. The recipe didn't call for it. It said to just use them chopped and raw. But I like to think of the sauteing as adding depth of flavor. I could be completely full of crap, but that’s my story, and I’m sticking to it.

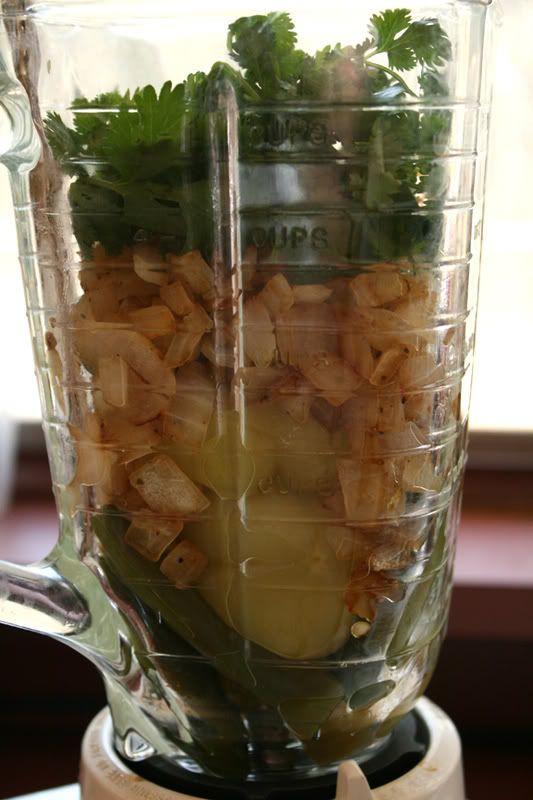
Transfer tomatillos, prepared poblano chiles, and serranos (use a slotted spoon if simmered) to a blender and purée with onion, garlic, 1/4 cup coriander, and salt until completely smooth.


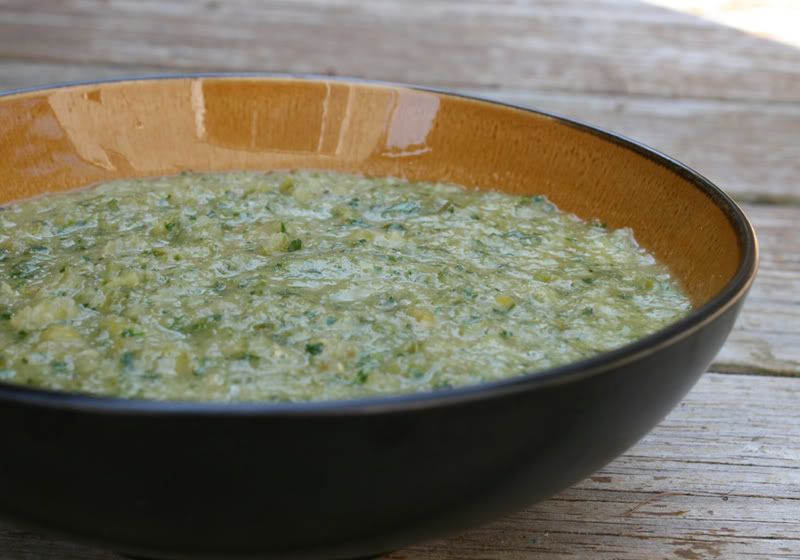
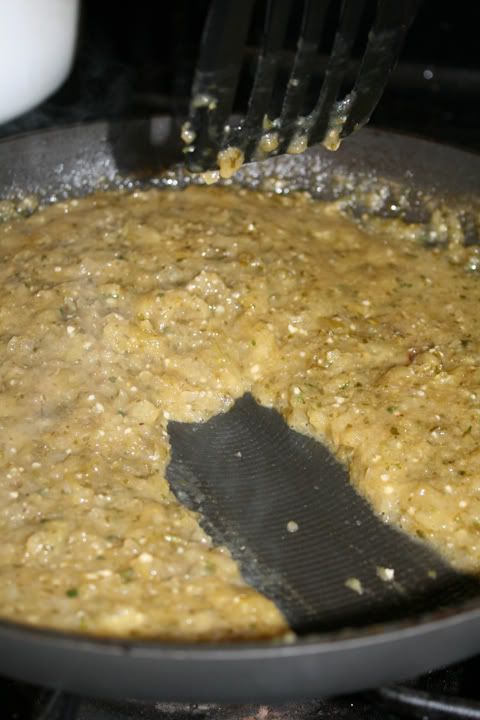
Here is the tomatillo sauce after being poured from the blender:


You could take a break here and put this sauce away till the next day if you wanted. Or you could continue.

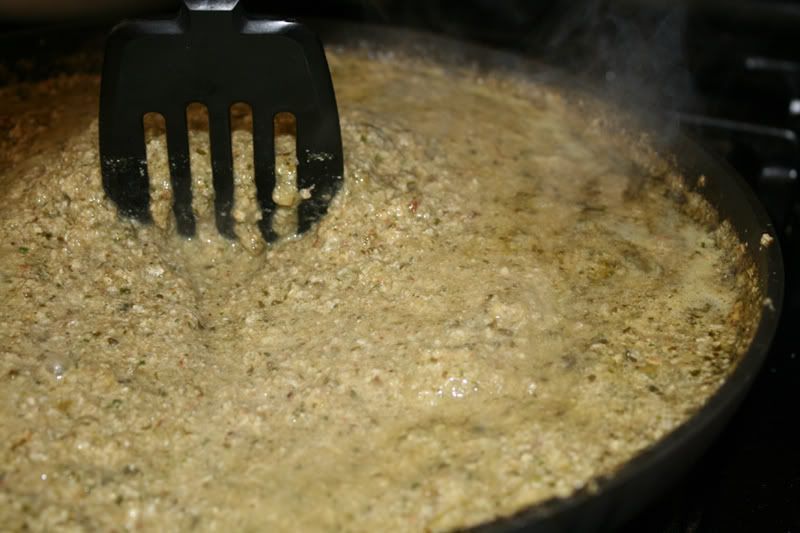
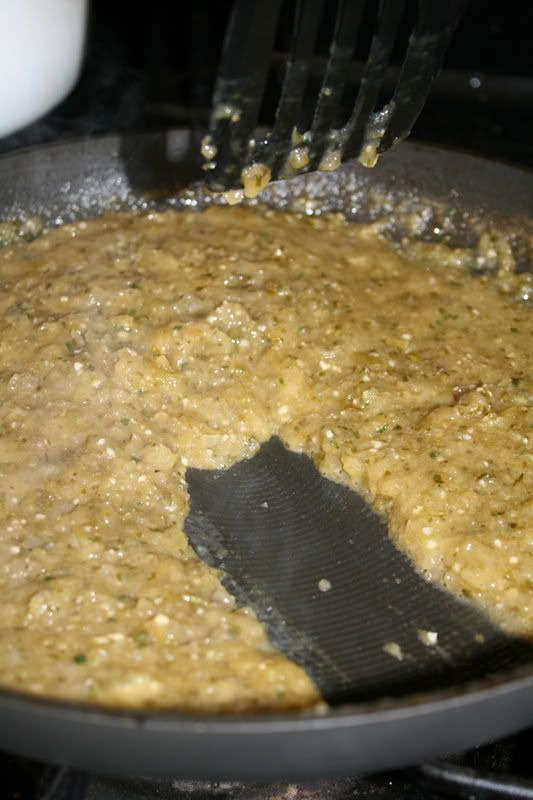
In a 5-quart heavy kettle simmer tomatillo purée in lard or oil, stirring frequently, 10 minutes. The sauce will thicken. You can see in the picture below that when I ran the spatula through the middle, the sea of sauce parted and stayed parted.


Add 2 1/2 cups stock and stir in powdered pumpkin-seed mixture. Simmer sauce, stirring occasionally, 15 minutes, or until slightly thickened.


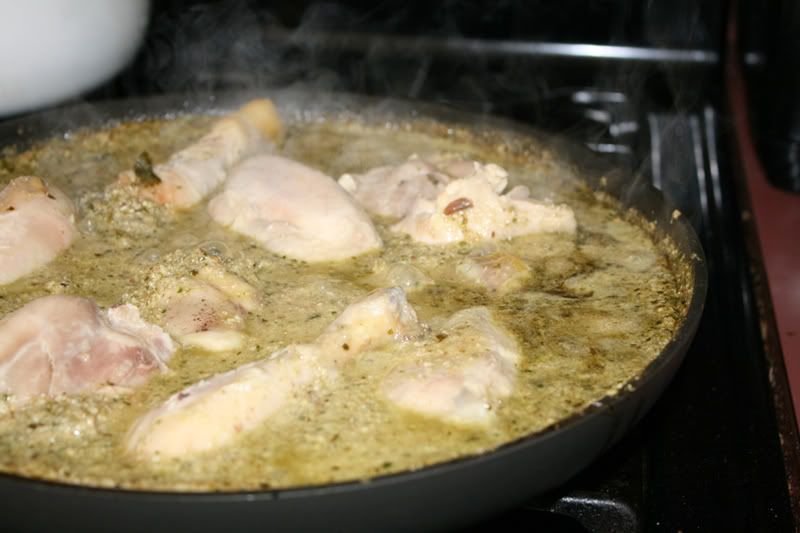
Stir the chicken into sauce and heat on top of stove or in a 350° F. oven until chicken is heated through.


You could serve this chicken with white rice, Arroz Verde, or just shred it up inside a corn tortilla as a taco. If you like tacos, you might want to see my post on preparing them.


Friday, April 25, 2008

Arroz Verde


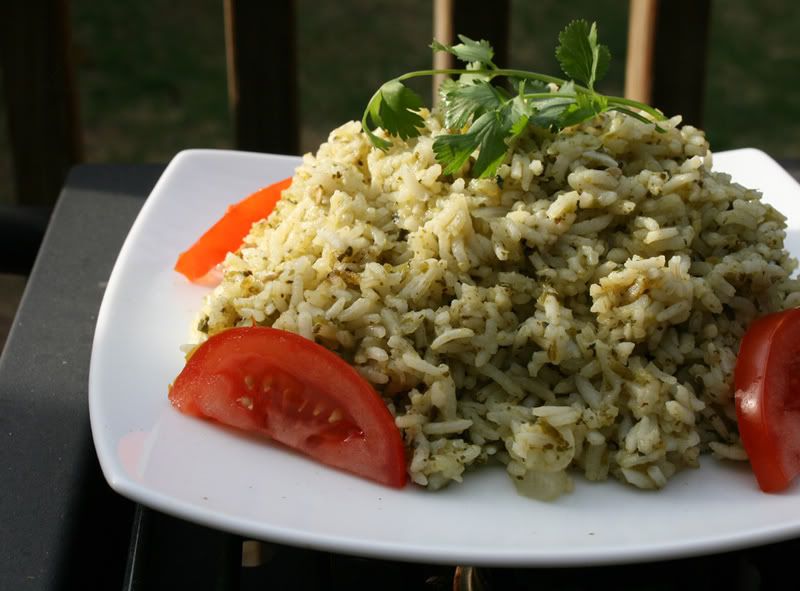
Arroz Verde (Green Rice) Is part of my Earth Week / Cinco de Mayo Mexican Dinner (to be posted later). This rice dish is deep in flavor and has a little heat. The rice is more sticky, similar to the rice in paella. I enjoyed taking the scrapings off the bottom of the pan and eating them while I plated my rice. That's might just be the best part of the rice! Yum! But I wanted to leave it out of my picture, as it doesn't look too pretty.

If you make this rice and use poblano chiles, I recommend my post on How To Roast and Peel Poblano Peppers.


Arroz Verde
Adapted from The Complete Book of Mexican Cooking

4 poblano chiles
2 cups rice
a good handful of fresh cilantro
1 large onion, chopped
1 clove garlic, crushed
4 cups stock
1/4 cup olive or salad oil
salt and pepper to taste


Cover the rice with hot water and allow it to stand for 15 minutes. Drain and rinse in cold water until the water runs clear. Drain again and dry thoroughly.

Place the chiles in the electric blender with the cilantro, onion, garlic, and a little stock. Blend until smooth.

Heat the oil in a large saucepan and saute the rice until golden. Add the puree and cook for a few minutes longer.

Add the remaining stock and season to taste with salt and pepper.

Cover and bring to a boil. Then reduce the heat and cook until the rice is tender and all the liquid is absorbed.


Serves 6


Thursday, April 24, 2008

How To Roast and Peel Poblano Peppers

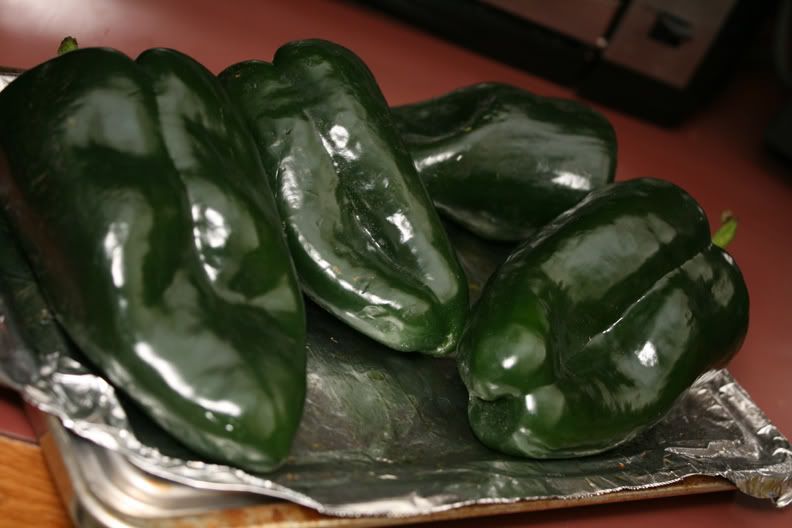
Poblano peppers are commonly used in Mexican cooking. This is what mine looked like before I roasted them:


And they are readily available. For instance, I live in the sticks (the boonies). I complain all the time about living in the middle of nowhere, but I find these at a grocery store nearby. Chances are you can find them too. Size wise, they are about the length of a bell pepper, but they are darker and more triangular.

These chiles are most widely known to be the pepper used in the dish Chiles Rellenos (stuffed chiles). They are also used in rice dishes and casseroles such as my Pollo en Pipián Verde. They are somewhat hot, but not like a jalapeño or serrano chile.

I don't think I've ever used them in a recipe that didn't call for roasting and peeling them. The roasting deepens the flavor and makes removing the peel super-easy. Here's how to do it.

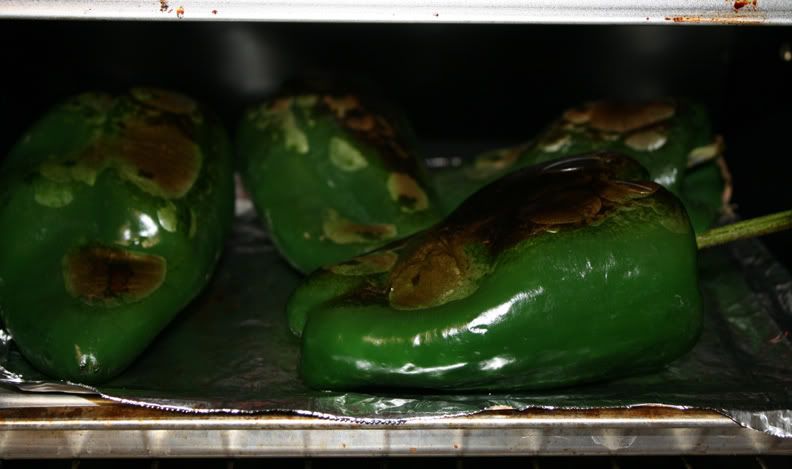
When roasting their poblanos, some people use their oven or even just the flame of their stove top. I think the toaster oven is easiest. I just put them in there on the highest setting. It took about 8-10 minutes per side today to roast a few poblanos in my toaster oven.

You'll know when a side is ready because the skin will be bubbly (big bubbles) and should be blackening on those bubbles. When the peppers reach that stage, just flip them over and do the same thing on the other side. In the picture below, the one lying across in the front is ready to flip. The others are not.


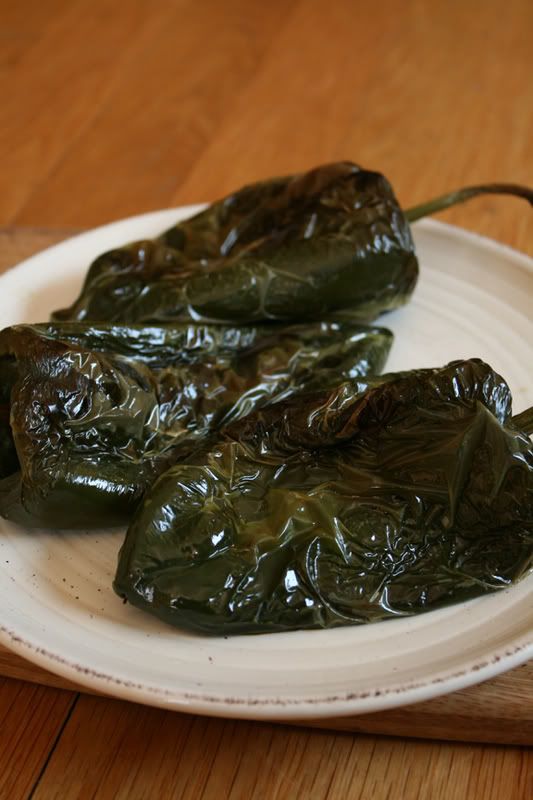
Then you let them sit till they are cool enough to handle. I took pictures of mine while I waited:


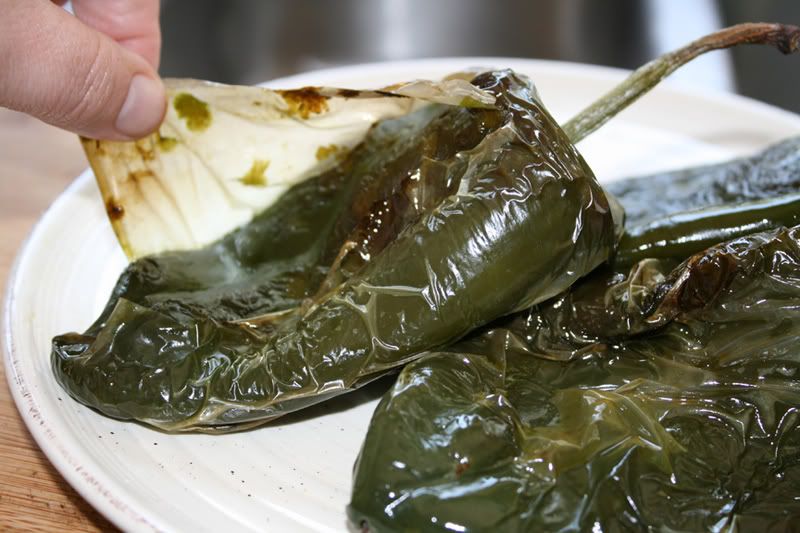
When they are cool enough to touch, just pinch a bit of skin and begin to pull:


Easy-peasy!

Be sure to pull the seeds out.

If you are going to make a chile relleno, you should make a small incision (play doctor!) and remove the seeds through it. For anything else, you can just pull the chiles apart as you remove the seeds.

Now you are ready to make all kinds of delicious meals.