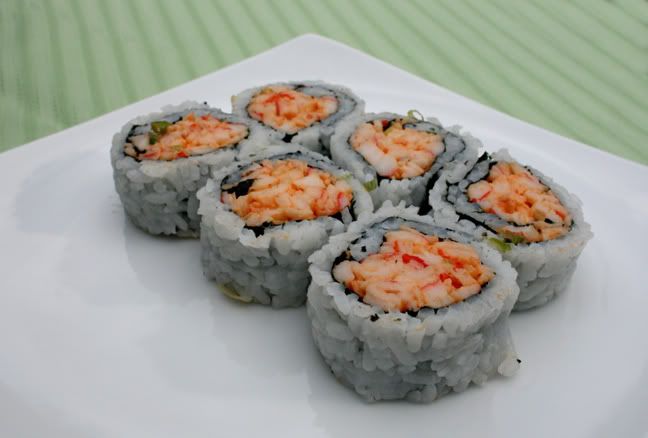
I’ve been on a sushi kick. While I love to get the real thing, made with raw tuna or salmon, I eat it often enough that I need to do it on the cheap from time to time. Also, its easier to get the ingredients this way.
The real name for this “crabmeat” is surimi. The word surimi is Japanese and literally means "fish puree/slurry" (according to Wikipidea).
So I use the surimi that you can get in the grocery store. It’s really a mixture of different fish, processed, and colored with natural food colorings. This is what restaurants use in their California rolls. It may not be raw tuna or salmon, but hey, I like the stuff! And I don’t have to be at all concerned about it’s freshness like I would with sushi-grade fish. So if I make the seafood mixture today, and don’t eat it till tomorrow or the next day, it’s no big deal at all.
I learned how to roll my sushi from a video on About.com:
http://video.about.com/japanesefood/Spicy-Tuna-Roll.htm
I originally went there to learn to make a spicy tuna roll, which I make when I’m willing to spend the extra money on the fish.
So, for this recipe, I took my favorite elements from a spicy tuna roll and a california roll and incorporated them into my own little recipe. Around the house I call this Semi Sushi.
Ingredients are approximations and are to my taste.
Semi (Surimi Maki) Sushi
Surimi - 1 cup shredded
Mayonnaise – 1 Tbs.
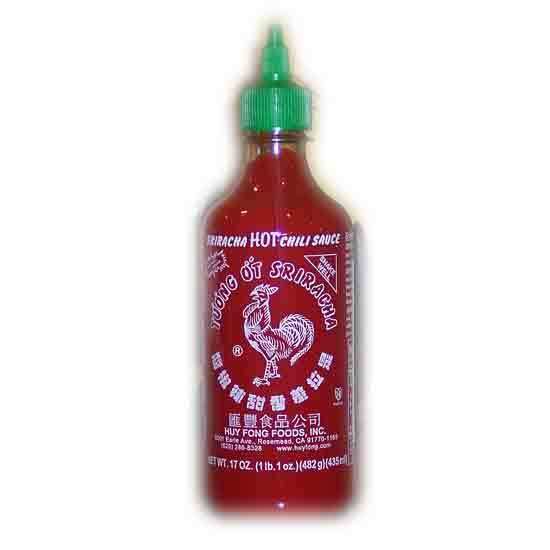
½ tsp Sriracha (available online if you don’t have an asian market anywhere)
1 scallion, sliced
celery (about 2 Tbs, minced)
1 slice pickled ginger, minced
¼- ½ teaspoon wasabi (from a squeeze-tube)
nori (that’s the seaweed sheet)
sushi rice (recipe to follow at the end of this post)
This is a picture of the Sriracha:
I'm including pictures of me making the sushi roll pictured at the top of this post. I don’t roll my sushi like a pro, but I do a good-enough job. It takes some practice. The guy in the About.com video uses a tiny piece of nori. I use the full size:
Mix the surimi, mayonnaise, sriracha, scallion, celery, ginger, and wasabi.
Put the sushi mat out. cover it with cling-wrap.
Lay down the nori. With wet hands, grab hunks of the sushi rice and press the rice while spreading it over the nori. You will need web hands to work with the rice. Otherwise it is too sticky to handle.
Pick up the nori and flip it over so the rice layer is on top of the cling-wrap.
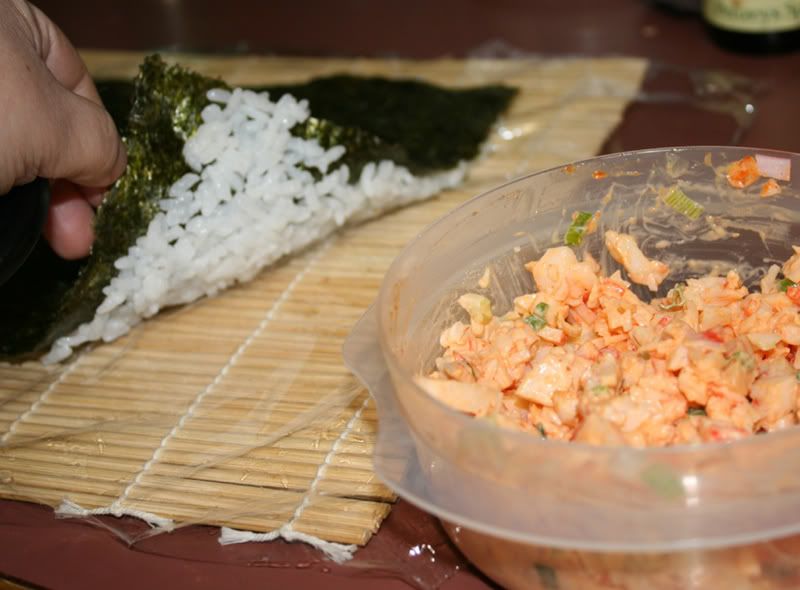
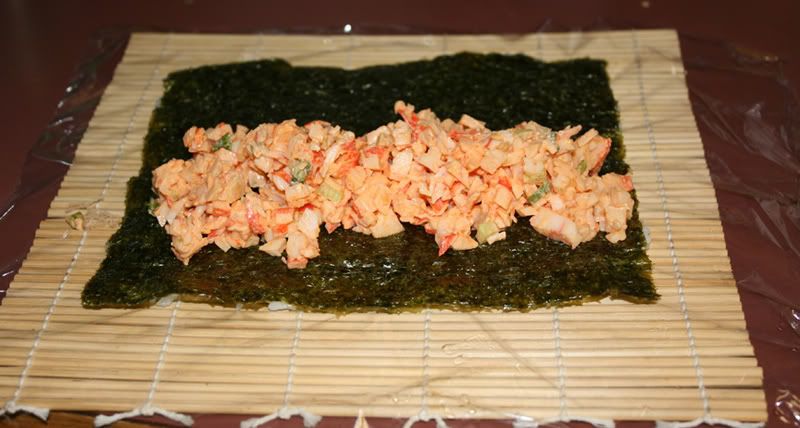
Place the surimi mix on the nori. You can't see the rice here because it's stuck to the bottom side of the nori.
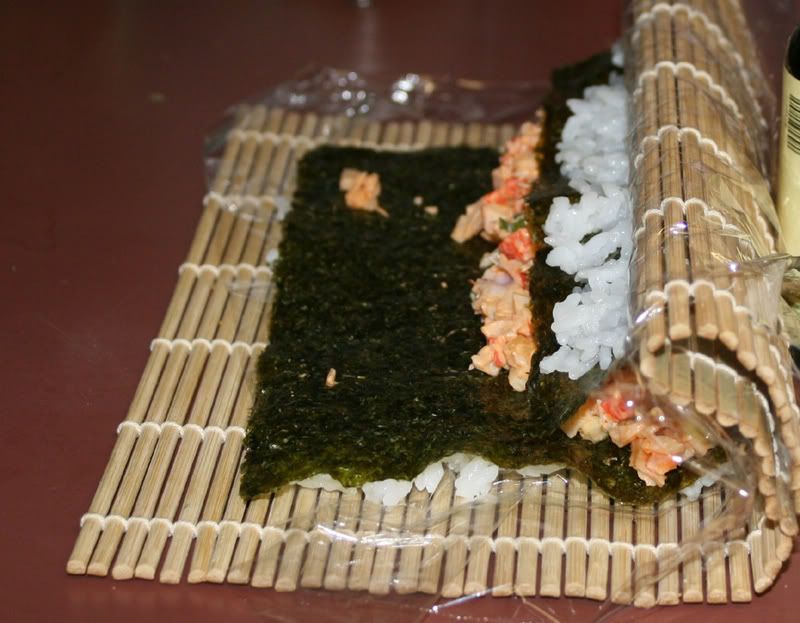
This is where it gets tricky. I pick up the edge of the mat, still holding on to the cling-wrap. I fold it up so that the edge of the nori reaches the edge of the surimi mix.
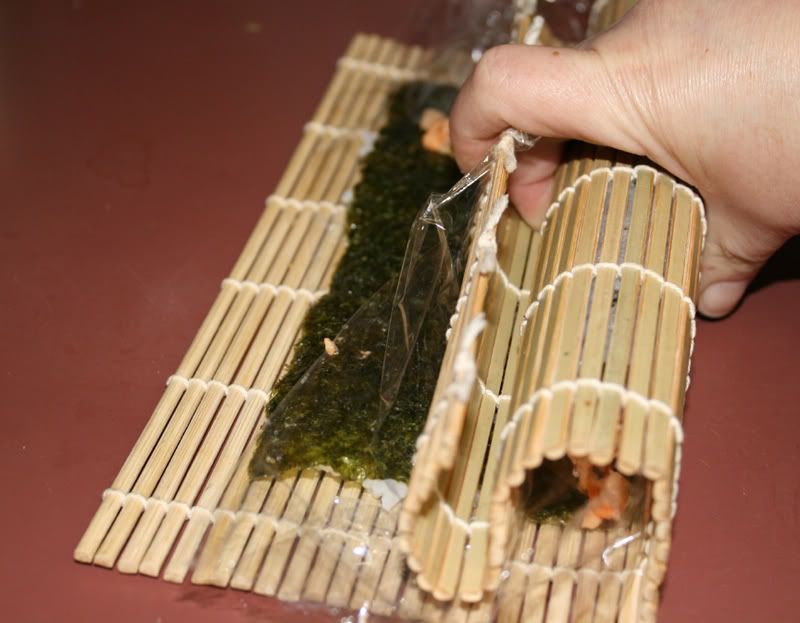
Then I manuever it all so that I cover the surimi and pull back towards me, compressing the surimi into a tube. Then I continue to pull back on the cling wrap as I roll forward.
Voila! I have a nice neat roll. I let it sit for a few minutes because I think it makes the nori easier to cut after it has a chance to moisten.
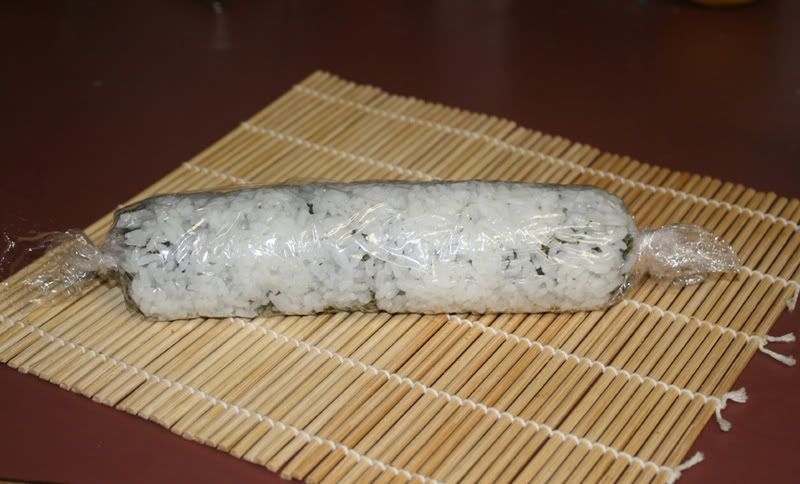
When I start cutting, I use an expensive, serrated knife that I wet. Like I mentioned earlier, that rice is sticky. The wet knife is less likely to stick to the rice, and I get a cleaner cut.
For the sushi rice:
I invested $35 in an inexpensive asian rice cooker. I got it on Amazon.com. The important things to look for are a non-stick pot that can be lifted out of the cooker for easy cleaning.
I cook one cup rice according to directions.
I empty the rice pot into a bowl. While it’s still hot, or after it’s cooled some, I add:
1 ½ Tbs. rice vinegar
1 Tbs. sugar
Mix well and let the rice cool, covering it to keep it moist.